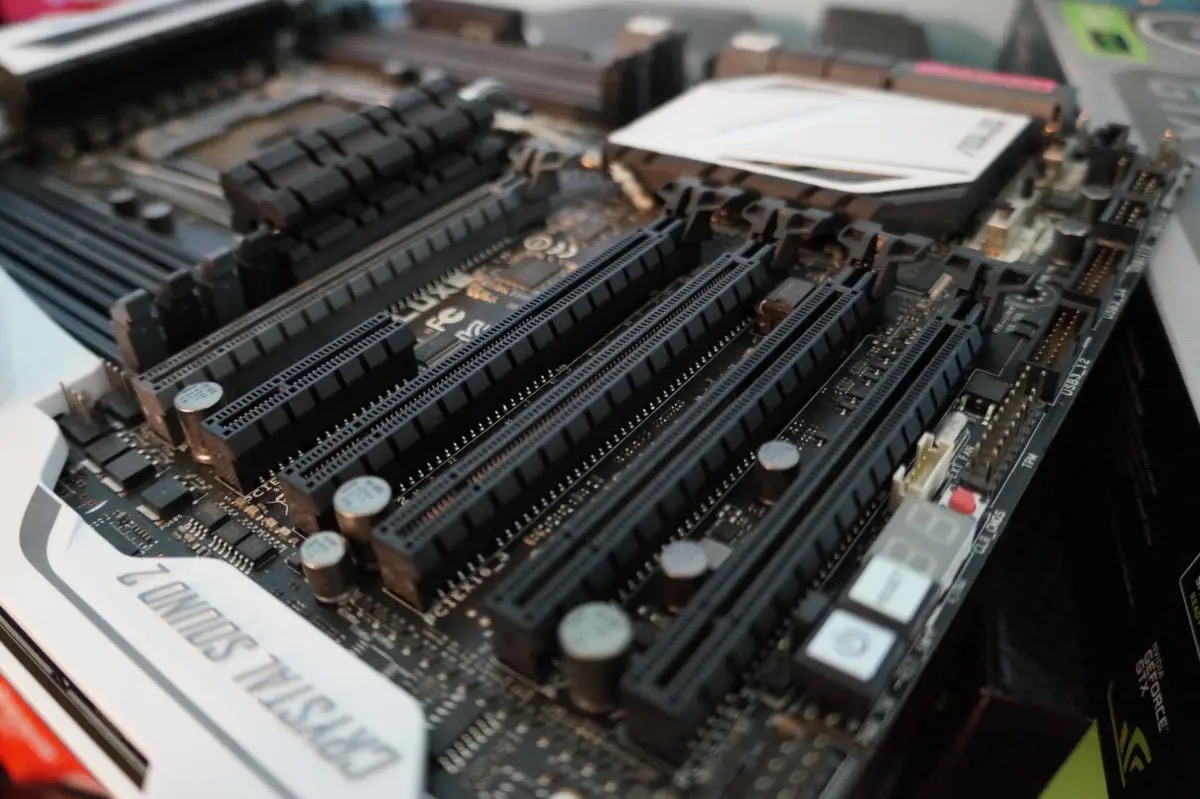
You install a graphics card into a PCI-E x16 slot on your computer’s motherboard (the long, black slots in this picture.)
Unless you need to remove an existing GPU, you first need to locate the long PCI-E x16 slot closest to the heat sink of your processor. This will either be the first or second expansion slot on your motherboard.
Make sure that there are no loose wires blocking your access to this slot. If you’re replacing an existing graphics card, unplug any cables connected to it, remove the screw from its retention bracket on the rear interior of your PC case, and then remove the card. Most motherboards also have a small plastic latch on the end of the PCI-E slot that locks the graphics card in place. Make sure you toggle this latch to unlock your old graphics card so you can remove it.
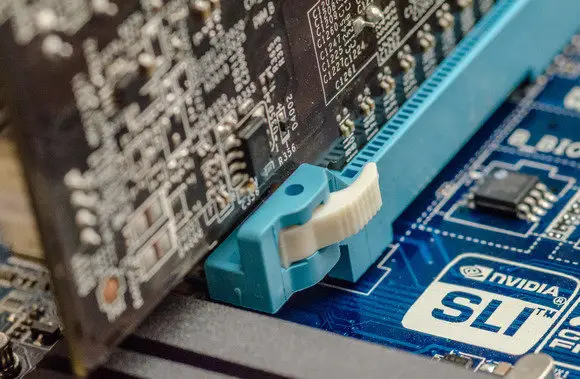
Don’t forget to lock the latch at the end of the PCI-E slot after firmly inserting your graphics card!
You can now install your new graphics card into the open and unobstructed PCI-E x16 slot. Firmly insert the card into the slot, then push down the plastic lock on the end of the PCI-E slot to hold it in place. Next, use a screw to secure the graphic card’s metal retention bracket to your PC’s case. You can reuse the same screw(s) that held the cover bracket or your former graphics card in place.
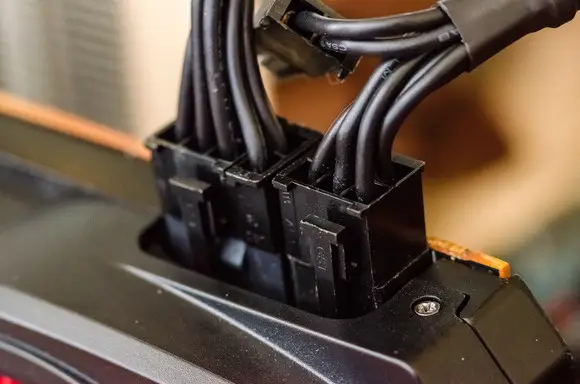
She needs more power, Captain! Your graphics card won’t run unless you’ve connected it to your PSU.
Most gaming-level graphics cards require additional power connectors. If yours does, make sure you connect those PCI-E power cables. Your graphics card will not function correctly without properly supplied power. In fact, if you don’t connect those PCI-E power cables your PC may be unable to boot.
- Wrapping Up
With your graphics card secured and powered up, finish the job by sliding your case’s side panel back into position and plugging your display cable into
your new graphics card. Turn on your computer.
Now it’s time to take care of the software side of upgrading your graphics card.
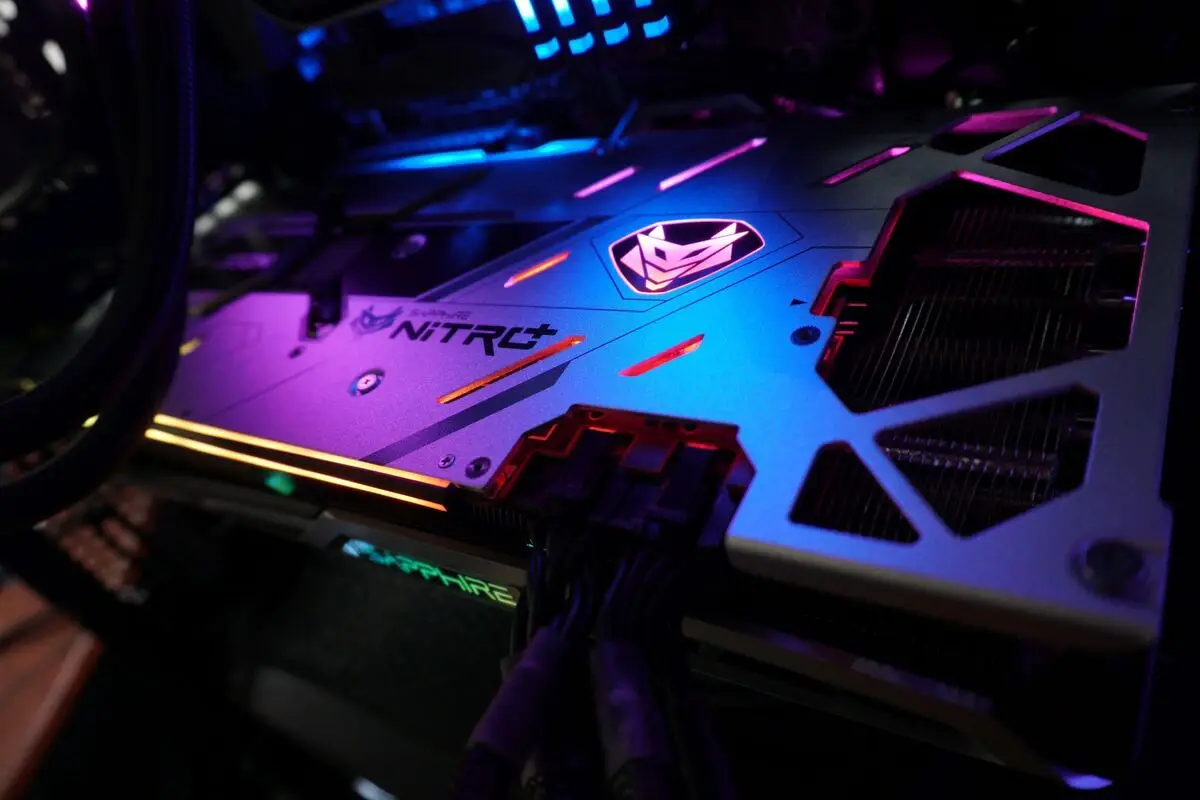
The Sapphire Nitro+ Radeon RX 6800 XT, plugged in and powered on.
If your new graphics card is the same brand as your old card, this process is simple. Just go to the manufacturer’s website and download the latest driver package for you operating system. Keep in mind that graphics drivers are quite large, generally about 500MB in size, and it make take some time for them to download depending on the speed of your Internet connection. Install the driver, restart your computer, and now you’re ready to enjoy the buttery-smooth framerates your new graphics card will no doubt deliver.
If you’re switching manufacturers (from Intel to AMD, from AMD to Nvidia, or vice-versa), uninstall your old graphics driver and restart your computer before installing the driver for your new graphics card.
If you don’t uninstall the old driver it may conflict with the new driver.
Done! That wasn’t so bad, was it? Now that your new graphics card is installed, you’re ready to hop into the latest games with your upgraded PC.
Here are some great free ones
to take for a test drive.
Source: PC World